Since the question comes up so much, I thought I would put together this short guide on getting started in Blender. Although I have been a professional designer for over 10 years and no stranger to 3D, Blender is quite new for me as a tool, I only started learning in the summer of 2020 while on furlough at Volvo, I took the HeavyPoly 7 week course to get started, I wrote about that course a bit more in depth here. I then had the unique opportunity to spend the following 7 months training full time. This post is not a tuotrial itself, rather a collection of helpful links and courses I have done myself and recommend.
For those getting started in 3D, its good to try a little of everything, before you decide what you want to specialise in, whether that's character design, animation, rigging, CGI, VFX, sculpting and more.
The fundamentals of sculpting can easily be learnt for free in Blender, before spending almost £1000 for a Zbrush licence, the same goes for Max, Maya and other specialised tools. I always encourage people to start out with the free options before commiting to the paid packages later. That's not to say Blender can do everything, and outside of general modelling you will hit a wall at some point if you really want to push things.
One of the thins that draws me to Blender for modelling is it's speed. I achieve that by using a very powerful UI overlay called HeayPoly config. This adds many radial key menus and shortcuts to dramatically speed up the hard surface workflow. The links to that are at the bottom of this guide.
Fundamentals & UI
It's easy to get excited and jump ahead, but you won't get far without learning the UI of Blender itself. Although it's become quite the meme, there are no better free tutorials that are structured and in depth over the full UI than Andrew Price's donut tutorial.

Topology Basics
It's very easy to get over excited when starting out with modelling, but having some discipline from the beginning will help immensely with what you will be able to create, working with SubD and especially important If you plan to go into an industry or hobby that requires optimised models (real time, games etc). One of my favourite courses that covers this in depth is the CG Masters Hard Surface Course. While it's quite old it has been updated and still very relevant to follow. At almost 15 hours it has some great content and assets to work with.
As well as the video files and source files the course covers in depth a lot of modelling theory. This knowledge is not specific to Blender, and will follow you into any polygon modelling tool.

Subdivision Basics
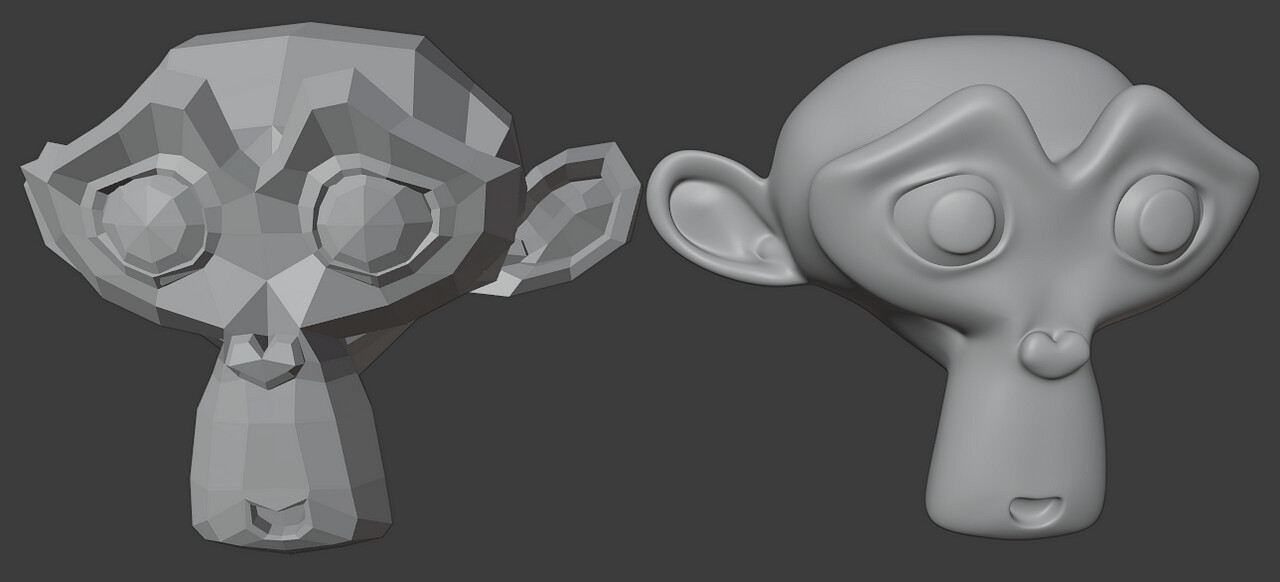
With the basics of topology completed moving onto some more advanced subdivision modelling is a great way to finalise your skills. Essentially subdivision is a method of splitting up faces into smaller faces to create the appearance of smooth surfaces, If you want to model cars for example it’s a must.
One of the best tutorials I did was the CG Masters Corvette. It has a steep intro so I would certainly recommend completing a few months of practice before attempting it. I did not attempt it until 11.5 months into my training, and even then it took 3 attempts to make the car. But once that knowledge sunk in I have been flying ever since.
Just a few weeks after completing the automtive Subdivision course I was competent enough to create my own vehicles from scratch in just a few days using exactly the same techniques:

HeavyPoly UI Addon
A great benefit of Blender being open source is that there are no end to the customisation offers available. One of my main additions is the HeavyPoly config, it changes the UI, collects features to be more accessible and also creates numerous hotkey radial menus. The result is that for hard surface modelling I can speed up the modelling process by over 50%. In the screenshot here, you can see the additonal hotkey addtions in the text file on the right.
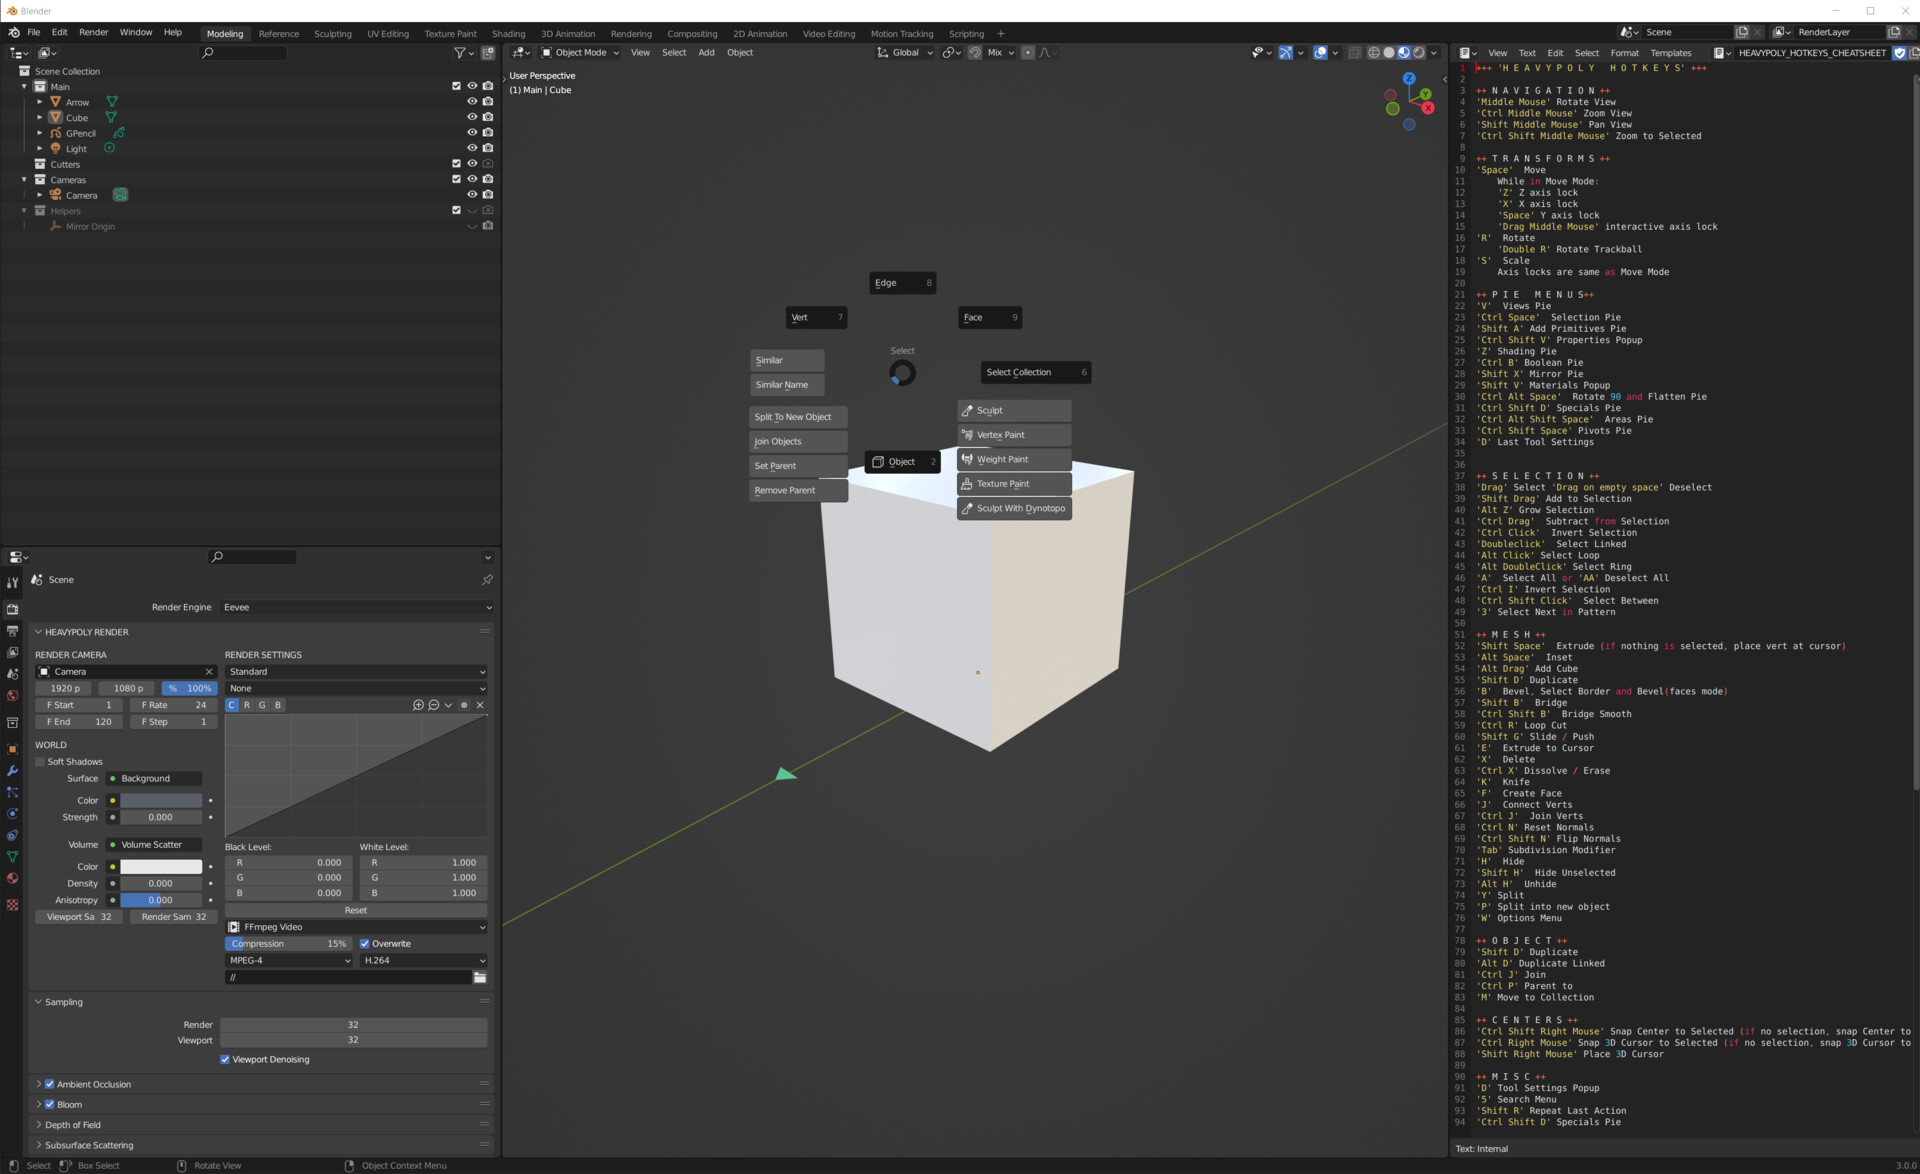
The reposioty can be downloaded here from GitHub. To install it follow these instructions:
In order to familiarise yourself with the shortcuts, there are some great free tutorials here, although made in 2.8, there is no issue to follow them using 3.0.
A fully in depth paid version here that not only covers modelling but also procedural shading, rendering, rigging, animation and compositing within Blender.
Useful modelling addons
While there are many great addons for Blender, some of my favourites are listed here, these are the ones that can really help you get ahead in the beginning:
Hard Ops / Boxcutter Ultimate Bundle
Hard Ops was made to expand on the boolean workflow that booltool started. The quest to make hardsurface easier has opened the box for what could be possible. Our toolkit encompasses, boolean, non-destructive modelling, assistive helpers for working optimally and many systems extending into sculpt and grease pencil sketching. Our goal is to make Blender more accessible while also keeping close to the vision of Blender itself and what makes it great and continue to be great. Our endeavor is to provide a first class AAA experience with comprehensive learning a thriving community and extensive documentation to help you get the most out of blender and hopscutter.
MESHmachine
MESHmachine is a blender mesh modeling addon with a focus on hard surface work without subdivision surfaces. Fuse and Unfuse Surfaces, create Variable Fillets and Washouts, edit and fix Bevel geometry, Unbevel and Unchamfer, create and clean up Boolean Intersections and create perimeter loops, keep earlier mesh states around as Stashes and use them for Normal Transfers, flatten and straighten normals, symmetrize and mirror custom normals, and detail surfaces flawlessly using Plugs - incl. your own custom made ones.
DECALmachine
DECALmachine is a blender addon, which through mesh Decals, allows for surface detailing in a very non-committal, non-destructive, UV-less way. As such it represents an alternative approach to hard surface texturing.In addition DECALmachine has deep Trim Sheet support, and supports Atlasing, as well as Baking to facilitate exporting to game engines like Unity, Unreal Engine etc. Decals can be projected, sliced, created from grease pencil or edges. They can be material matched, and you can easily create your own.Trims can be easily placed, cut, manipulated or removed - all directly in the 3D view.
That's about it for modelling tutorials, as I said at the start I have taken all of these courses and can't recommend them enough. Some may seem pricey but it's hard to find such longform structured content for free. You certainly won't regret picking any of them up.
Good luxk and have fun,
Cheers
Liam